Introduction
Dirty ears can lead to infections, discomfort, and even hearing loss—but many puppy owners feel unsure about cleaning their dog’s ears properly. If that’s you, don’t worry! In this guide, you’ll learn how to clean your puppy’s ears gently using safe, vet-approved steps. With the right technique and a gentle approach, ear cleaning can become a stress-free part of your puppy’s grooming routine.
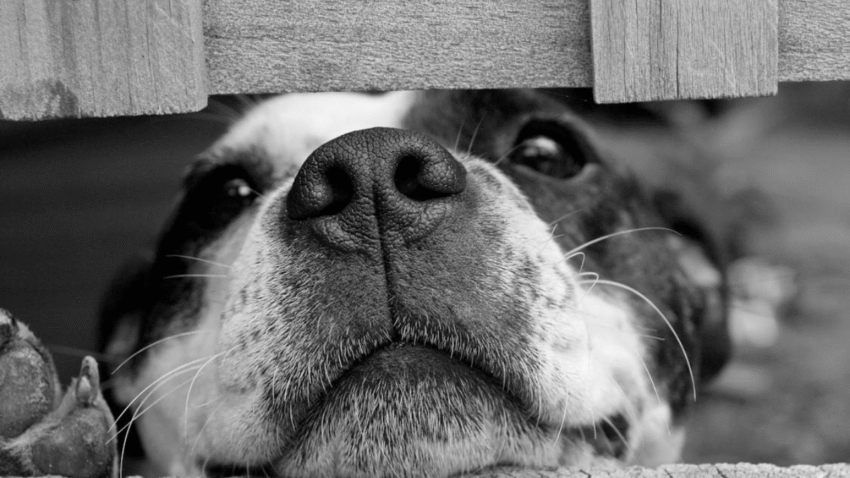
Why Cleaning Your Puppy’s Ears Matters
Your puppy’s ears are sensitive and prone to issues like wax buildup, debris, and even parasites if left unchecked. Regular cleaning helps prevent ear infections and keeps your pup comfortable, especially if they have floppy ears or love swimming.
Benefits of regular ear cleaning:
- Prevents infections caused by bacteria or yeast
- Removes wax, dirt, and allergens
- Keeps your puppy comfortable and itch-free
- Allows early detection of ear problems like mites, swelling, or redness
By starting this habit early, your puppy will grow up used to having their ears handled, making future cleanings and vet visits easier.
Step-by-Step Guide to Cleaning Your Puppy’s Ears
Step 1: Gather the Right Supplies
Before you begin, prepare the following:
- Dog Ear Cleaner: Use a vet-approved, alcohol-free solution (never use hydrogen peroxide or vinegar)
- Cotton Balls or Pads: Avoid cotton swabs, which can push debris deeper into the ear canal
- Treats: For positive reinforcement
- Towel: To catch any spills or shaking
💡 Tip: Always use products made specifically for dogs—human products can cause irritation.
Step 2: Pick the Right Time
Choose a calm time when your puppy is relaxed. After exercise or a meal is ideal. Sit in a quiet area with good lighting, and have your supplies ready.
Step 3: Examine the Ears First
Before cleaning, take a look inside your puppy’s ears:
- Healthy ears should be pale pink with little to no odor
- If you see redness, swelling, discharge, or smell a foul odor, call your vet—this may indicate an infection
Only clean the ears if they appear dirty or if it’s part of your regular grooming routine.
Step 4: Gently Hold the Ear Flap
With one hand, gently lift your puppy’s ear flap to expose the ear canal. Speak softly and calmly to reassure your pup.
Step 5: Apply the Ear Cleaner
Squeeze a few drops of the ear cleaning solution into the ear canal. Don’t insert the tip too far—just inside the opening is enough. Your puppy may try to shake their head (this is normal and actually helps loosen debris).
Step 6: Massage the Base of the Ear
Massage the base of the ear for about 20–30 seconds. You’ll hear a squishing sound—that means the solution is working. This helps break up wax and debris deep in the canal.
Step 7: Let Your Puppy Shake It Out
Allow your puppy to shake their head. This helps bring debris to the outer part of the ear, where you can wipe it away easily.
Step 8: Wipe Away Debris
Use a cotton ball or pad to gently wipe the visible parts of the inner ear. Do not insert anything into the ear canal—only clean what you can see.
Repeat the process for the other ear.
Step 9: End With Praise and Treats
Give your puppy a treat, pet them, and speak kindly to end the session on a good note. This helps your puppy associate ear cleaning with positive experiences.
Common Mistakes to Avoid
- Using Cotton Swabs (Q-Tips)
– These can push debris deeper into the ear or damage the ear canal. Stick to soft cotton balls or pads. - Over-Cleaning
– Cleaning too frequently can cause irritation. Once every 2–4 weeks is usually enough unless your vet advises otherwise. - Using Harsh or Homemade Cleaners
– Vinegar, alcohol, or hydrogen peroxide can damage sensitive ear tissue. Always use dog-safe ear cleaning products. - Ignoring Signs of Infection
– Redness, foul odor, head shaking, or discharge are signs of a problem. Don’t clean—visit your vet. - Forcing a Scared Puppy
– If your puppy is frightened, stop and try again later with a gentler approach. Never yell or restrain them harshly.
Extra Tips & Recommendations
- Start Young: The earlier your puppy gets used to ear cleaning, the easier it will be as they grow.
- Make It Routine: Combine ear cleaning with nail clipping or tooth brushing to build a consistent wellness habit.
- Check Ears Weekly: Even if you don’t clean them weekly, inspect for dirt, odor, or irritation.
- Use Rewards: High-value treats like chicken or peanut butter can make the experience enjoyable.
Need help building a full routine? Check out our guide on [how to create a wellness routine for your dog].
Conclusion
Cleaning your puppy’s ears gently is a simple task that can prevent major health problems. With the right products, a patient approach, and lots of positive reinforcement, your pup will soon learn that ear cleaning is no big deal.
🐶 Gentle hands and kind words go a long way—your puppy will thank you with happy, healthy ears! Keep reading our blog for more essential dog care tips.