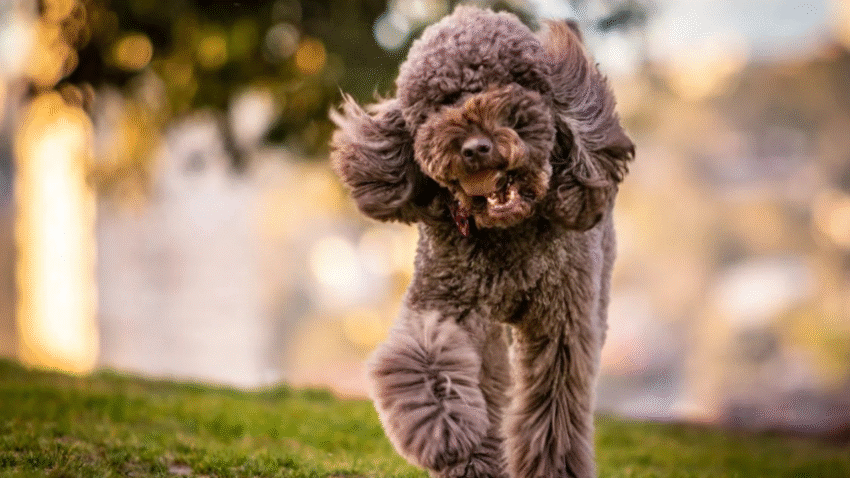
Do your dog’s paws seem tender, or are they suddenly limping after a walk? Injuries to the paws are common, yet often go unnoticed. In this guide, you’ll learn how to check your dog’s paws for injuries step by step, helping you spot issues early and keep their feet healthy and pain-free.
Why Checking Your Dog’s Paws Matters
Your dog’s paws endure rough surfaces, sharp objects, hot pavements, and icy sidewalks. Regularly inspecting their paws can prevent small problems from turning into serious injuries. Here’s why it’s important:
- Prevents infection and complications
- Reduces discomfort and pain
- Improves mobility and quality of life
- Helps detect foreign objects like splinters or glass
- Builds trust and strengthens your bond through care
Whether your dog is highly active or enjoys casual strolls, paw health should be part of your regular grooming routine.
Step-by-Step Guide to Checking Your Dog’s Paws for Injuries
Step 1: Get Your Dog Comfortable
Before you begin, make sure your dog is calm and relaxed. Choose a quiet space and have them lie down or sit comfortably. Use soothing tones and gentle touches.
- Small dogs: Can be placed on your lap or a table
- Large dogs: Sit beside them on the floor or gently lift each paw
Offer a treat before and after to make the experience positive.
Step 2: Inspect the Pads
Carefully look at the paw pads on each foot. Check for:
- Cuts or abrasions
- Cracks or dryness
- Blisters from hot pavement
- Swelling or discoloration
- Unusual textures or peeling
Use your fingers to gently press on each pad. If your dog pulls away or winces, there may be a sore spot.
Step 3: Check Between the Toes
Spread the toes apart and examine the skin and fur between them:
- Look for thorns, grass seeds, or splinters
- Watch for redness, swelling, or discharge
- Check for matted hair, especially in long-haired breeds
Use a flashlight if needed to get a clear view between the toes.
Step 4: Examine the Nails and Nail Beds
- Look for cracked or broken nails
- Check the base of each nail for signs of infection (redness, swelling, discharge)
- Make sure nails aren’t too long, which can affect walking and cause joint stress
Trim nails regularly to reduce the chance of breaks and splintering.
Step 5: Feel for Warmth or Swelling
Using the back of your hand, gently feel each paw and joint for warmth or swelling. Heat can indicate inflammation, infection, or injury.
Compare both front paws and both back paws to spot any differences.
Step 6: Watch for Behavioral Clues
During and after inspection, observe your dog for signs of discomfort:
- Limping or favoring one leg
- Licking or chewing at a specific paw
- Reluctance to walk or jump
- Whining when a paw is touched
These are red flags that something may be wrong and may require further treatment.
Common Mistakes to Avoid
1. Skipping Regular Checks
Only checking paws when your dog is limping means you’re reacting too late. Inspect their paws weekly to stay ahead of issues.
2. Pulling Objects Without Care
If you spot a thorn or splinter, don’t yank it out forcefully. Use tweezers gently or consult a vet if it’s deeply embedded.
3. Ignoring Small Cuts
Even tiny abrasions can get infected. Clean small wounds right away and monitor them closely for signs of infection.
4. Not Checking After Outdoor Activities
After walks on trails, beaches, or rough terrain, always do a quick paw check. Foreign objects like burrs and foxtails are common.
5. Over-Trimming Nails
Cutting nails too short can hit the quick and cause pain and bleeding. Trim cautiously and stop if you’re unsure.
Extra Tips & Recommendations
Keep a Dog First Aid Kit Handy
Your kit should include:
- Tweezers
- Styptic powder (for nail bleeding)
- Antiseptic wipes
- Gauze and vet wrap
- Paw balm for dry or cracked pads
Moisturize Dry Pads
Use dog-safe paw balms to keep pads soft and prevent cracking, especially in dry or cold weather.
Use Booties for Protection
Dog booties protect against hot pavement, ice melt chemicals, and sharp terrain. Ideal for hikes, snow, or city streets.
Conclusion
Your dog’s paws do a lot of heavy lifting—literally. Checking them regularly helps prevent pain, keeps them mobile, and shows them love in one of the most practical ways. Be gentle, stay consistent, and when in doubt, call your vet. A little care goes a long way toward keeping those paws healthy.
🐾 Want more step-by-step care guides? Keep following for more practical tips to keep your dog happy and healthy from head to toe!